Here's a side view to see the detail on the golf ball. I used a little Going Gray and rubbed it over the dimples to highlight them a little more.
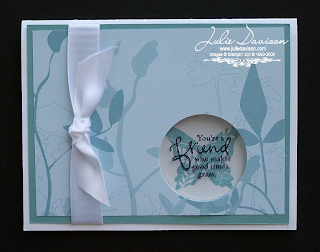
 This is an easy card to put together! Start by punching a 1-3/8" Circle in the Basic Gray card. I put the punch all the way in and lined up up about 1/4" from the fold. Center the 4" x 5-1/4" Baja Breeze cardstock over the card.
Flip it over and trace the circle that was punched onto the Baja Breeze cardstock. Use this as a guide to know  where to punch the Baja Breeze cardstock. (Punching through two sheets of cardstock at once is not recommended. The punch is designed to only punch one sheet at a time.)
Adhere Sticky Strip above and below the window on the Basic Gray card. Adhere a small piece of fishing line (you can also use dental floss here). Add another piece of sticky strip over the first line to ensure the line stays in place.
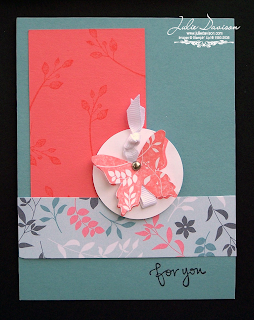
 Put Sticky Strip on the back side of one of your spinners. Here, it's two circles of textured cardstock. The back side is the side with raised dots, which I don't want to show. Remove the red liner and put behind the fishing line. Adhere to the second spinner piece so that the backs sides are pasted together covering the fishing line.
Supplies: And Any Mower, Baja Breeze ink & cardstock, Kiwi Kiss ink & cardstock, Basic Gray ink & cardstock, Blush Blossom marker, Blender Pen, Scissors (to hand cut the "grass"), Sticky Strip, Fishing Line, 1-3/8" Circle Punch, 1-1/4" Circle Punch (for spinners), SU Backgrounds 1 Texturz Plate for the Big Shot


 If you're in my downline, you have one week left to qualify for a make and take kit of your own! And if you're not in my downline yet, you have one week left to sign up for just $75! Click

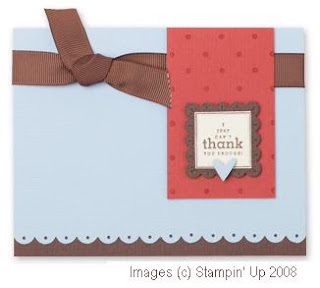
 I used the thank you stamp from
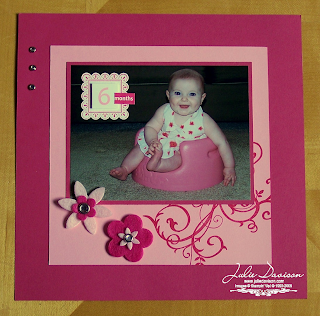
  I mocked up the 2nd page, but I think I may change the photos before I finish it. I can't decide between other photos of Elise playing and eating or the photos from Hawaii and Easter of her wearing the same dress. Once I decide, I'll add journaling on the top note.

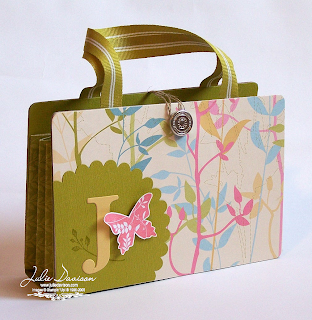
 I remembered seeing this little peek-a-boo cash card at our demonstrator group meeting last week. (I think it was Rae Ann that brought it, but now I can't remember.) The design is very simple. It's basically a piece of cardstock that is scored/folded in two places to create a card with a pocket.
 And the inside:
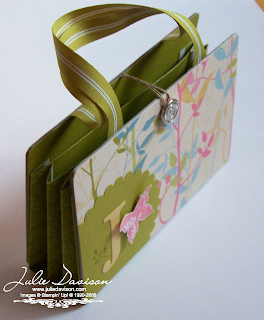
 I used the 1-3/8" Circle Punch to create the window for Andrew Jackson to peek through.
 Maybe it's that bright Washington Apple paper that I'm struggling with...it is very bold. I do love the color combination that it gave the card and it pulls the rest of the card together.

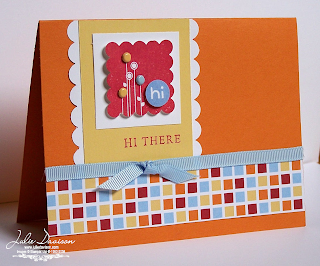
 You might not be able to tell from the photo, but these are micro mini cards -- they are 2" x 2". Really, they are more like gift tags that would be great to stick in a gift bag or tie on with a ribbon. I have a feeling this size is going to be trendy this summer. I ran out of time to make a box for these. Wouldn't it be great if we had a die that made a box that fit 2" x 2" cards!? Hmmm...
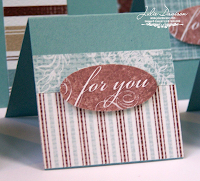


 Click
Click 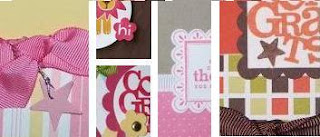

 S
S


 You can find all the details & measurements for this project by clicking